


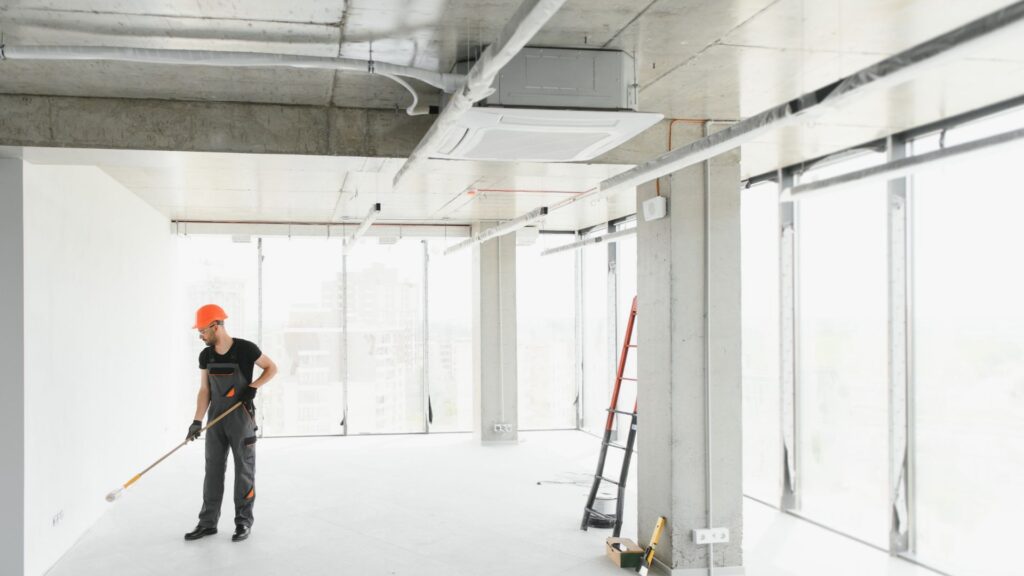
Finishing a renovation feels like reaching the end of a long project. The tools are packed away, the paint is dry, and the new space finally looks the way you imagined.
Then you notice the dust.
Construction and renovation work can leave fine particles on floors, trim, fixtures, cabinets and other surfaces. Even a room that looks finished may not yet be ready for furniture, employees, customers or everyday family life.
A planned post-construction cleaning helps bridge the gap between “the work is complete” and “the space is ready to use.”
Why Regular Cleaning May Not Be Enough
Post-construction cleaning is different from routine housekeeping. Instead of addressing normal household dirt and everyday buildup, the work may involve:
- Fine dust on horizontal and vertical surfaces
- Debris in corners and along baseboards
- Residue on fixtures, doors or cabinets
- Dust on vents, ledges and window sills
- Marks or smudges left during installation
- Particles that move from one surface to another during cleanup
The U.S. Environmental Protection Agency recommends controlling pollutants during remodeling and separating work areas from occupied areas when dust is being generated. The agency also notes that renovation work in older properties may involve hazards requiring special precautions. EPA remodeling guidance.
Post-construction cleaning should begin only after contractors have completed their work and addressed any specialized hazards within their responsibility.
1. Confirm That the Project Is Ready for Cleaning
Before the final cleaning begins, walk through the space with the contractor or project manager.
Confirm that:
- Construction work is complete
- Tools and unused materials have been removed
- Adhesives, paint, grout and finishes have had the required curing time
- Major debris has been cleared
- Plumbing, electrical and HVAC work has been completed
- Contractors do not need to return for additional dusty work
Cleaning too early can mean repeating the job after another round of drilling, sanding or installation.
2. Identify Materials That Need Special Care
New surfaces should be cleaned according to their materials and manufacturer instructions.
Natural stone, hardwood, stainless steel, painted cabinetry, specialty tile and newly installed fixtures may require different products or techniques. An aggressive cleaner that works well on one surface could damage another.
Create a simple inventory of the new finishes before cleaning begins. If the contractor or installer provided care instructions, keep them available.
3. Work From High Areas to Low Areas
Dust moves downward as it is disturbed, so the sequence matters.
A practical order can include:
- High ledges and accessible trim
- Light fixtures and ceiling fans
- Doors, frames and wall surfaces
- Cabinets, shelving and countertops
- Baseboards and low fixtures
- Floors
Working from top to bottom reduces the chance of cleaning the floor and then covering it with dust from a higher surface.
4. Check the Details Around Fixtures and Built-Ins
Renovation dust often collects in narrow areas that are easy to miss during a quick visual inspection.
Pay attention to:
- Cabinet tops and edges
- Drawer and door handles
- Window sills and tracks
- Baseboards and molding
- Accessible air vent covers
- Light switches and outlet covers
- Stair rails
- Shelving
- The edges of new appliances
- Areas behind or beneath movable items
This detail work is often what makes the difference between a room that merely looks finished and one that feels ready to occupy.
5. Clean Kitchens and Bathrooms Carefully
Kitchens and bathrooms usually contain several materials within a small area. Counters, cabinets, sinks, tile, mirrors, fixtures and floors may all require different treatment.
Remove visible dust before wiping surfaces so that particles are not simply moved around. Follow manufacturer instructions for new appliances, countertops and fixtures.
Avoid storing food, toiletries or linens in cabinets until the interiors and accessible surfaces have been cleaned.
6. Give Floors a Final Pass
Floors are often the last major step because they collect material removed from the rest of the room.
The correct method depends on the flooring. Carpets, hardwood, laminate, tile and stone should each be cleaned with suitable equipment and products. New flooring may also have care restrictions immediately after installation.
Once the floors are finished, limit unnecessary traffic through the room until they are dry and ready for use.
7. Inspect the Space in Good Light
A final walkthrough can reveal dust and residue that were difficult to see earlier.
Look across surfaces from different angles and inspect:
- Corners
- Dark cabinetry
- Reflective fixtures
- Glass
- Window sills
- Baseboards
- Floors near walls
- Tops of doors and trim
If dust is still settling after the first pass, another targeted wipe-down may be needed.
A Safety Note for Older Properties
Ordinary post-construction cleaning is not a substitute for lead, asbestos, mold or other hazardous-material remediation.
The EPA warns that renovation work disturbing paint in pre-1978 homes can create hazardous lead dust and recommends certified lead-safe practices. Suspected asbestos-containing materials should not be disturbed without appropriate professional guidance. EPA lead-safe renovation guidance.
Discuss potential hazards with the renovation contractor or an appropriately qualified specialist before routine cleaning begins.
Make the New Space Ready for Everyday Life
Completing the renovation is only part of the transition. The final cleaning allows you to move furniture back, reopen a workspace or enjoy the improvement without starting with a layer of construction residue.
J Team Cleaning Services LLC provides after-construction cleaning and other professional cleaning services for residential and commercial spaces across Virginia, Maryland and Washington, DC.
To discuss the condition of your renovated space and request an estimate, contact J Team Cleaning Services LLC or call (571) 274-4936.